After sewing hubby a 70s Melton wool coat (below) in 2012, I wanted to sew him something different last year for our 15th wedding anniversary.

The plan was to sew Thread Theory’s Jedediah pants and Newcastle Cardigan. But, I took longer than expected sourcing for suitable fabrics. By November, Thread Theory was looking for pattern testers for their Goldstream Peacoat and I signed up! The timing couldn’t be better as hubby just shared with me that his company would be sending him back to school for 3 weeks in the UK in November 2014! A coat would be an absolutely appropriate present!
Thread Theory’s Goldstream Peacoat (the pdf version is now available for purchase!) comes in two variations. Classic and Casual. I really loved the Classic design with the epaulets and sleeve tabs but decided to make the minimalist Casual version so that it would look distinctive from the 70s coat I made hubby the year before. I sewed the version with front darts for better shaping.

Hubby’s back to school version is made with an Italian wool melton coating in a cosy heathered major brown color from Gorgeous Fabrics which I bought during a sale. It’s truly a gorgeous fabric and hubby said he can’t wait to wear it so much so that he wanted to wear it in his office. I told him he’s nuts. And he is. See, he’s happily modeling it for me in our hot 30 degrees Celsius living room.


Like the 70s Melton wool coat, I chose to line this coat with a light weight plaid wool fabric. Somehow I really love wool on wool and it definitely provides extra warmth. My original plan was to sew the side and top pockets. The clever design comes with two pocket layers. As you can see, I prepared all 4 pocket pieces.

However, my sewing machine wasn’t agreeable with the thickness and I ended up using the side faced pocket for the top pocket. I just preferred to have patch pockets that are faced:)

I also sewed a hood which I adored. Love the plaid fabric contrast here too. But, after trying on the coat, hubby just love it the way it was, without hood. So, now I have an extra woolen hood lying around my sewing room. 
I used medium weight iron-on interfacing for the collar, but for the front coat pieces and the front facings, I chose to hand baste hair canvas onto them. The hair canvas was pre-treated. I washed and soaked them in water before line drying them. While they were still slightly damp, I steamed iron the hair canvas till completely dry. 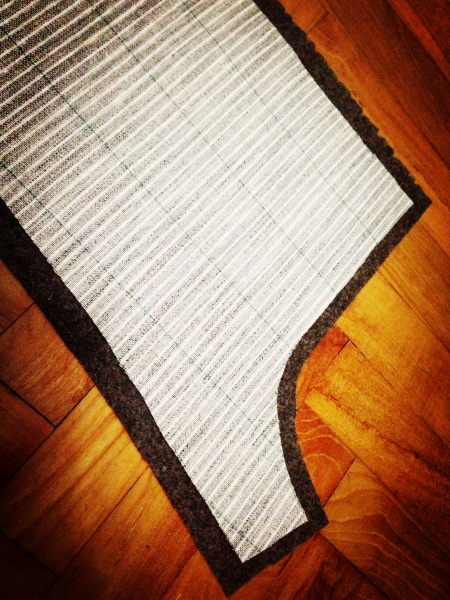
The hair canvas came with printed green lines which I used as a guide for my hand basting onto the wool pieces. This was the most time-consuming part of sewing this garment but after completing this coat, I felt that it’s a necessity. I love the support it gives the coating. To reduce bulk at the seams. I trimmed the seam allowances off the hair canvas. To complete the look, I also used shoulder pads as recommended by the pattern. The length of this coat is just perfect.

When the lining was complete, I used a method I have learnt while sewing the kids’ coats a couple of years ago to attach the sleeve to the sleeve lining. I love that this method hides all the stitches and lends a lovely finish to the sleeves.

This step is done after attaching the coat and lining/facing pieces together but before slip stitching the hem by hand. Through the armholes, pull the sleeves out to the wrong side for both the shell and lining. Matching up the seam in the sleeve of your lining with the seam of your coat. Pin the sleeves together at the end right sides together and sew all the way around to attach the sleeves together. Now do the same with your other sleeve. Through the bottom opening, pull the sleeves out and turn the coat over to the right side. Now, you can slip stitch the hem.


Beautiful job!
What a fabulous coat! You did a wonderful job. I’m pretty excited to see this new design by thread theory, having already made their Henley and Jebediah shorts for my hubby. Did the sewing instructions include info on using hair canvas and other interfacings for the coat or was this just from your sewing experience. I don’t have much experience sewing coats but after seeing this, I think I would like to make one of these soon!
What a wonderful coat!!!!!! You did a beautiful job, and I don’t blame hubby for wanting to wear it everywhere!
Ah, this is such a lovely coat! The pattern looks great, and the work that you’ve done with it s stunning
Wow, that’s gorgeous! good job..looks like he loves it 🙂
Lovely coat :o) Lucky Hubby but he may want to reconsider that hood for the UK in November!!
It is so nice looking. You did a super job!
This is just gorgeous!! I just purchased a pattern to make a coat for my husband, it was a Vogue but I´m having second thoughts after watching your version!
Beautiful work! What a labor of love.
This is amazing! I can’t wait for this pattern to be in hard copy as I now know what I’ll make Husband for his birthday in October!
Well done! It looks great and I think your choices are great! Maybe I should make one for my husband….
Beautiful work! It’s so satisfying to have a satisfied customer at the end of the day. 😉
@Debbie ILes: Thank you! The sewing instructions is very detailed, however, it does not teach you how to use hair canvas. I basically searched the web and found useful information on how to do it. Gertie’s blog has lots on this http://www.blogforbettersewing.com/2010/10/tailoring-your-coat-front-part-one.html
For interfacing, the instructions recommended medium to heavy weight fusible or sewn-in interfacing and if your wool is very textured and fusible interfacing will likely have difficulties fusing to it, choose sewn-in interfacing to baste to the interfaced pieces, which is what I did. It also suggested interfacing the entire coat front pieces or baste horse hair canvas to the chest and collar areas for a stiffer and more tailored looking coat as an option.
Hope that helps:)
@Jenni: I told him about your comment and he asked: Is the hood still around?
@Merche: Thank you so much! Your hubby is really blessed that you are making him a coat! For coats especially I find that it’s always tough to decide on the pattern to use (I am guilty of holding more than a few coat patterns) but I’ll highly recommend this one:P
@Vicki Kate: Great choice! I’d go for the hard copy too:) Lucky husband of yours!
@Roberta Fahrni: Thanks so much! Go for it! It’s pretty gratifying to sew and my hubby was really happy and touched I sewed him another coat:)
Pingback: Goldstream Peacoat: Our Pattern Tester’s Versions | Thread Theory
Pingback: An Amazing Start to 2014! | The Sew Convert
So awesome. I just got the pattern and I just wanted to ask, is Melton wool the same as Wool Felt sold in spotlight stores?
@Shehmay: Thanks so much! I’m afraid I’m not sure as I’ve not seen the wool felt at Spotlight before. Melton wool doesn’t fray, is of medium to heavy weight and has some body in it. You may want to check the description for fiber content and ask the sales people there if that was suitable for coating.
Hi, I have just bought the pattern from Thread Theory and in the process of choosing self fabric. I would love to know is there any special care for melton wool? Can they be machine wash? Thanks.
@eeleen: Melton wool needs drycleaning. They can’t be machine washed.
>